
Step-by-Step Guide: How to Safely Use Holesaws for DIY Projects
Holesaws, when used correctly, are incredibly handy tools that can help you make clean, precise cuts in a variety of materials. Whether you’re a professional tradesperson or a DIY enthusiast, knowing how to safely and effectively use a holesaw can enhance the quality and finish of your projects. In this guide, we’ll walk you through the process of safely using a holesaw for your DIY endeavors.
Before we get started, note that a holesaw’s performance and durability can be significantly affected by its quality. At Speedy Fixings, we offer a range of high-quality Starrett holesaws and arbors to ensure that your DIY projects are completed to the highest standards.
Step 1: Choose the Right Holesaw for Your Project
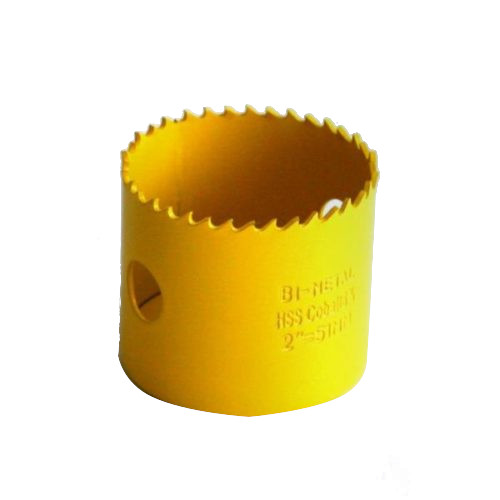
Holesaws come in various sizes. Ensure you choose the right size for your specific task. We offer a large range of diameters for the Starret Colbalt Holesaw.
Step 2: Secure Your Material
Before starting your cut, make sure the material you’re drilling into is firmly clamped or secured. This reduces the risk of the material moving during the drilling process, potentially causing injury or damage.
Step 3: Mark Your Cutting Spot
Use a pencil or marker to accurately mark the center of where you wish to cut your hole. This will guide your drilling process and ensure precision in your work.
Step 4: Prepare Your Drill
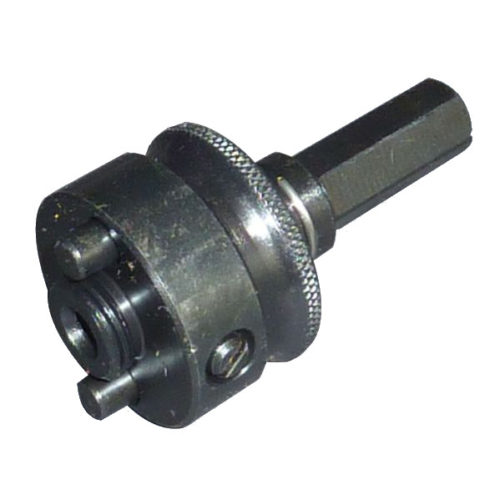
Attach the holesaw to your drill. Make sure it’s properly secured in the arbor to prevent it from coming loose during operation. Not sure which arbor to use? Here at Speedy Fixings, we offer a wide variety of arbors and attachments, so you can find exactly what you need to get the job done.
Step 5: Position the Holesaw
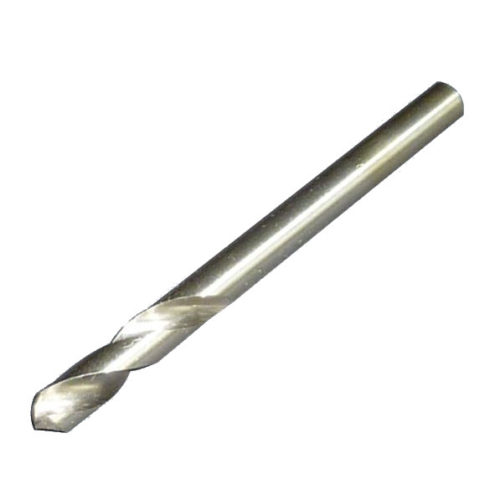
Place the holesaw directly over the marked spot, ensuring the pilot drill bit is aligned with your mark.
Step 6: Begin Drilling
Start drilling at a slow speed to establish the cut, gradually increasing the speed as the cut deepens. Remember to apply steady pressure but avoid forcing the holesaw into the material.
Step 7: Handle the Heat
When cutting through harder materials like metal, the holesaw can get hot. In these cases, take frequent breaks or use a cutting fluid to reduce heat build-up and prolong the lifespan of your holesaw.
Step 8: Finishing Up
Once you’ve completed your cut, let the holesaw cool down before touching it. Remove any cut material from the holesaw and clean it thoroughly before storing it away.
Remember, safety should be your top priority when working with tools like holesaws. Always wear appropriate safety gear and follow the tool manufacturer’s instructions.
Now you’re equipped with the knowledge to safely and effectively use a holesaw in your DIY projects. Ready to start your next project? Contact us today for expert advice in choosing the right tools for the job from our friendly team, via phone at 01206 793100 or email us at [email protected]